
Did you think converting Peachtree (now known as Sage 50) to Quickbooks is a highly complex task? Well, to your surprise, it is not. It is no child’s play either. Just not as difficult as you may have thought. Plus, we have made it extremely easy for you. So, you can put your fears to rest because we are going to guide you on how to convert Peachtree to Quickbooks.
Before knowing the actual process, it is vital for you to understand what these two accounting software are. So, let’s get into that first.
Table of Contents
Get to know Quickbooks and PeachTree
QuickBooks
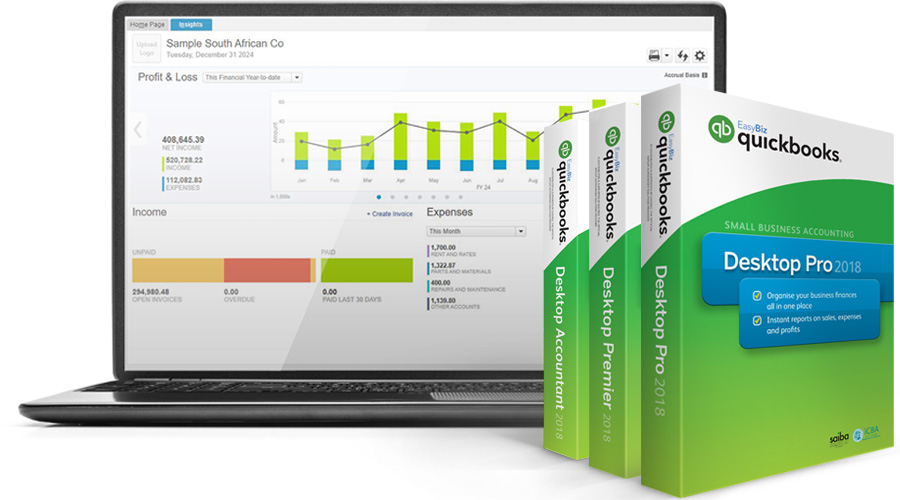
QuickBooks is a prominent accounting software pack developed and marketed by the top-notch software package company Intuit. This software package is completely created for little and medium-sized enterprises to form their accounting and book-keeping work straightforwardly. With the assistance of QuickBooks, the user will be able to perform multiple accounting tasks such as:
- Managing Payroll
- Managing Income and Expenses
- Keeping track of Financial business health
- Managing and paying bills
- Accepting and forwarding business payments
- Monitoring business growth
- Configuring the reminder of future payments
Peachtree

Peachtree accounting package is developed by Sage package for little and medium-sized enterprises currently called ‘Sage 50’. This package allows the accountant and managers to complete some magnificent task that takes a lot of time if it’s done by any human. These are the features that Sage 50 processes.
- Keeping Track of Bank transfer and Payroll
- Creating financial statements
- Monitoring Invoices
- Importing and Editing Spreadsheet
- Focusing Account Payable and Receivable
- Processing scanned cheques, receipts, and invoices
The characteristics of QuickBooks
- QuickBooks has a very neat and user-friendly interface.
- QuickBooks has both Mac and Windows versions.
- QB has also launched an online version which makes it accessible from anywhere.
- QuickBooks also has a cloud-based interface.
The characteristics of Peachtree
- Peachtree can manage Inventories in LIFO, FIFO, and Serialized forms.
- It can comprise 40 users at the same time.
- Peachtree comes with a feature called GAP. This checks duplicate and suspicious entries.
Both accounting packages are world-famous and have a colossal user base. Though Peachtree is a tremendous package for book-keeping and accounting you simply need to maneuver to QuickBooks for higher expertise and advanced financial performance. If you switch your platform from Peachtree to QuickBooks, you would like to convert all of your data from Peachtree to QuickBooks. Browse ahead to grasp all these procedures because this post has it all.
If you desire to conduct the conversion, you would definitely want to check out the system requirements of this process. Let’s have a look at that.
What is the System Requirement For Peachtree to QuickBooks Conversion?
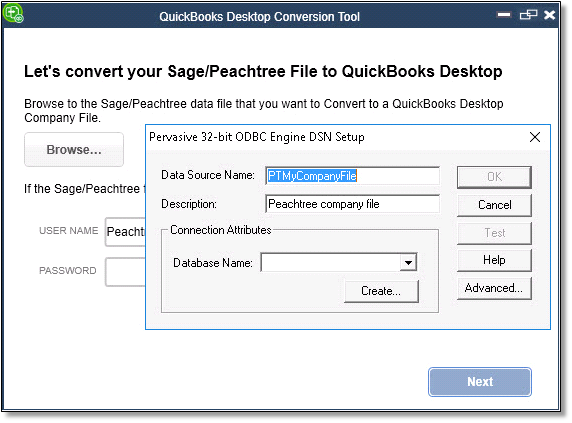
The conversion procedure of Peachtree to QuickBooks is usually performed by the QuickBooks Desktop Conversion Tool aka Peachtree to QuickBooks conversion tool. This tool solely converts Peachtree version 2013 or higher version of QuickBooks, it solely supports QuickBooks Desktop professional, Premier, and Enterprise 2016. These are the requirements to convert Peachtree to Quickbooks
- Microsoft .NET framework version 2.0.0. You may experience Quickbooks .net framework error if you don’t have it properly installed.
- Peachtree and QuickBooks Desktop should be installed on Windows 10 based system
- 512 MB of RAM and 2.5 GB of Free Hard Drive
Precautions
- Ensure that both QuickBooks and Peachtree have been installed on the same computer.
- The data folder and .exe files of both QuickBooks and Peachtree have to be on the exact same local hard drive to back up the data and company files.
You would like to read How to Restore a Portable File in Quickbooks
How to convert Peachtree to QuickBooks?
Simply follow the steps below to convert Peachtree to QuickBooks.
Step 1: Time to Backup the Data
The very first step to performing the Peachtree to QuickBooks conversion is to back up your data. The same data that you wish to modify. You will be able to choose this step while the conversion tool is functioning.
You will realize the importance of this step if something goes wrong during the conversion.
Step 2: Simply Name the Backup file
Type in an appropriate name for the file. However, remember to choose a unique name. It should also be simple so that you can recall it later. The character limit of the name is forty-one characters, don’t cross the bounds, and never repeat the name of the file to a different one. If you are doing, therefore, QuickBooks can mechanically add variety when the name forms a distinction between the files.
Step 3: Register in Intuit
Intuit, the developer of QuickBooks contains a free conversion file on their website. You only ought to visit the website and register yourself for the free tool that converts all the relevant information. The fundamental construct of the software is to permit the user to choose wherever he/she left off. Consolidate altogether the relevant details within the box then hit the send button to register.
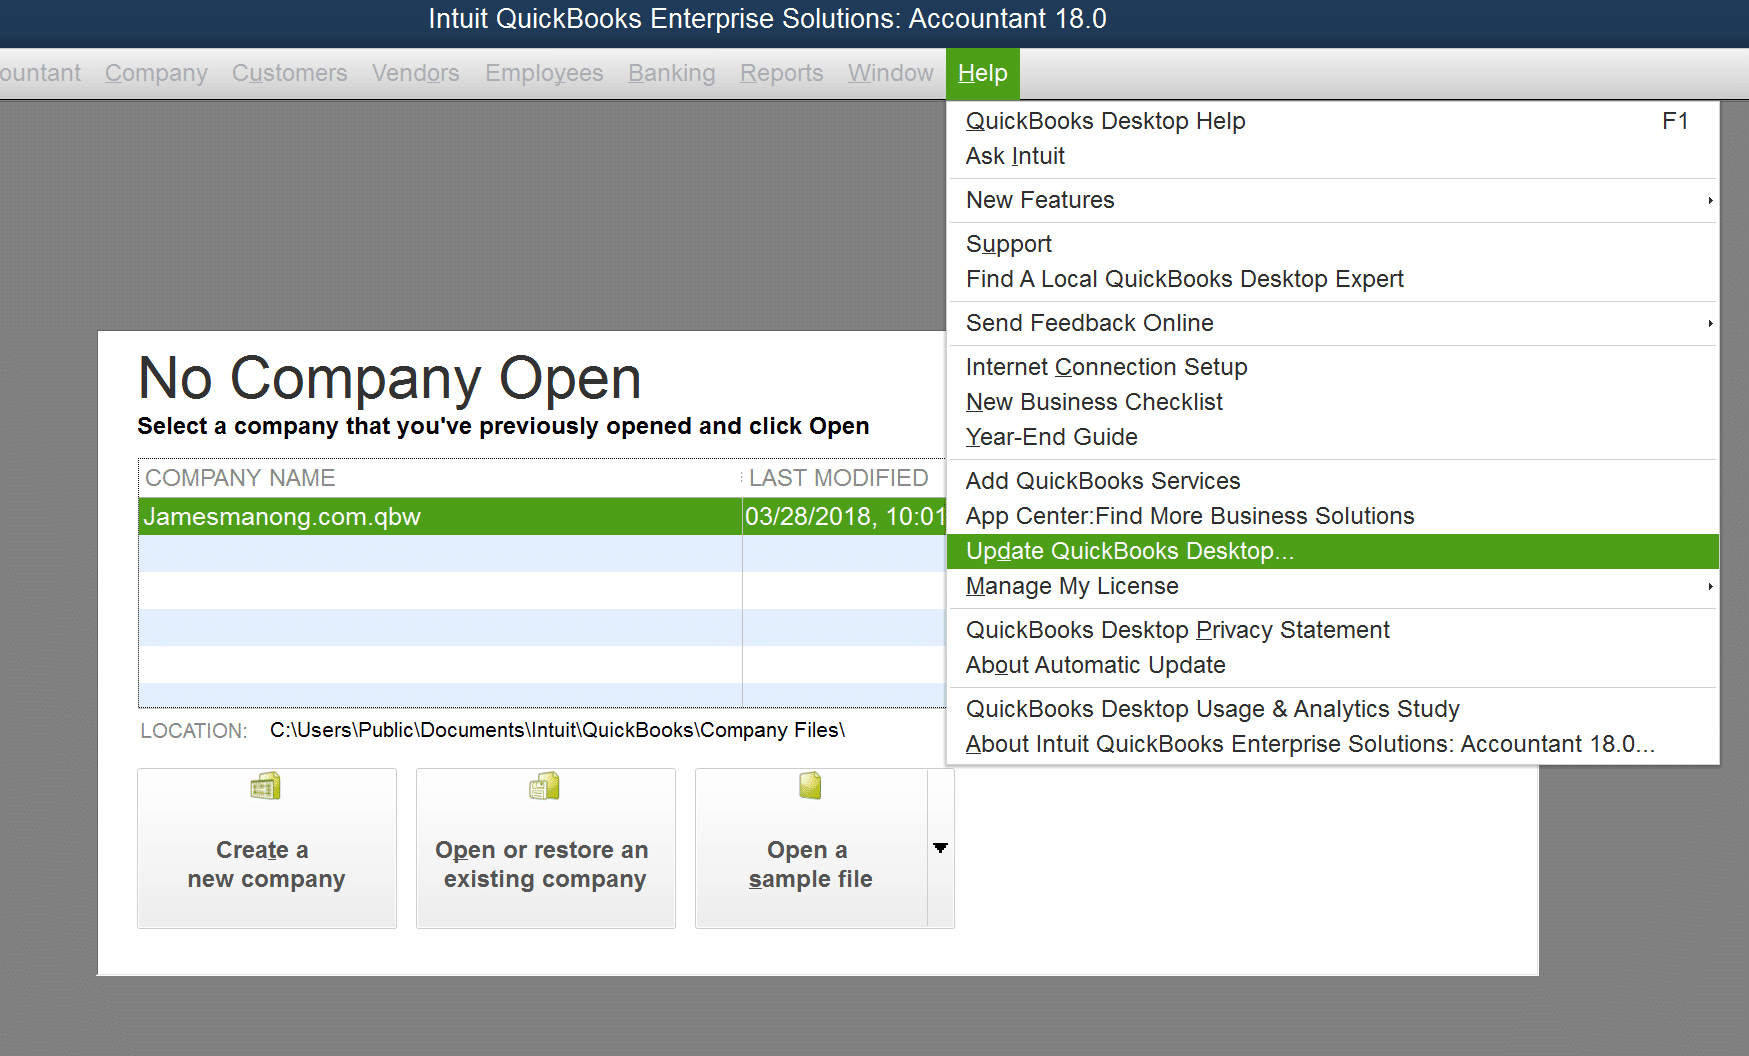
Step 4: Download the Converter File
Now that you simply register yourself on the apprehend website you’re currently eligible to transfer the file with a device. This tool is about thirty MB and therefore the installation on a three Mbps connection makes it 2 minutes method to transfer. When the downloading method completes, you’re needed to press the Run button.
Step 4: Launch the converter
You have the access to QuickBooks conversion tool now. Initiate it to convert the data from Peachtree to QuickBooks. You just have to follow the on-screen instructions to perform the conversion task. It’s very simple as the user interface is pretty trivial.
Step 5: Manual set up of company file data
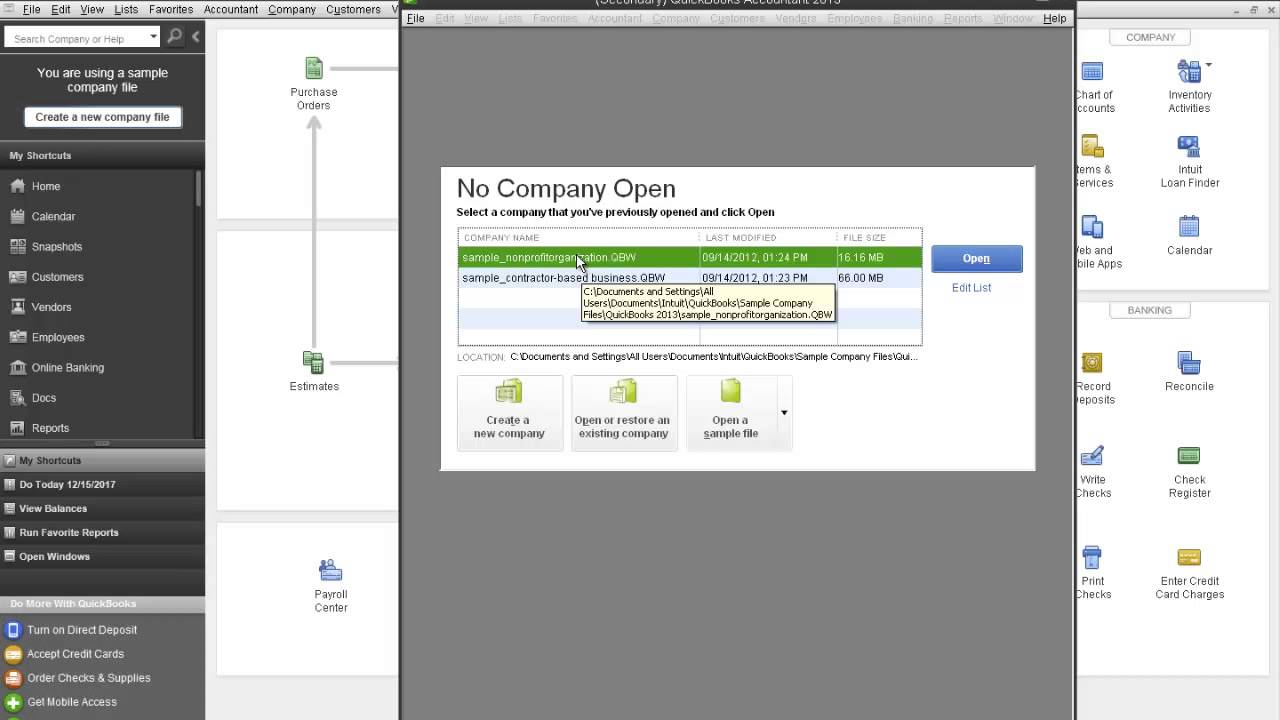
Now that the data is remodeled from the Peachtree to QuickBooks, name it. It’s vital to manually fill up the company details. First, you’ve got to open the Peachtree application on the device, opt for the maintain choice. Later, choose the company file option. Right-click it and choose the copy option. Now, you have to and duplicate the data from there. Next, open QuickBooks and in the company files option, you have to paste the data you derived from the Peachtree.
Get to know about Quickbooks Audit Trail Removal
Step 7: Basic set-up of Data
When the conversion is complete, you have to provide the basic data which has to be set up. For this, go to the Edit tab and then click on the Preferences option. Here you will be able to set the basic data up.
This is it, we hope that you were able to conduct this conversion smoothly using our article. If that’s the case, as a token of appreciation, you should have a look at other articles on our website. We are pretty sure that these informative articles are going to be really productive for you.
Frequently Asked Question
Q1.How to Convert Peachtree to QuickBooks?
Converting from Peachtree to QuickBooks is a relatively easy process. Here’s what you need to do:
- First, export your data from Peachtree. You can do this by going to File > Export > Data. Make sure to choose the option to export all data, not just selected data. Once your data is exported, you’ll need to open it in Excel.
- Next, clean up your data in Excel. This step is important, as QuickBooks is very particular about how data is formatted. Remove any unnecessary columns and make sure all of your data is in the correct format.
- Finally, import your data into QuickBooks. To do this, go to File > Import > Excel Files. Choose the file you exported from Peachtree and follow the prompts to import it into QuickBooks.
Q2. How to move your QuickBooks Desktop file to Online?
It’s easy to move your company file from QuickBooks Desktop to QuickBooks Online. Here’s how:
- First, go to Company in QuickBooks Desktop and select Export Company File to QuickBooks Online. Then select Start your export.
- You’ll be prompted to sign in as an admin to your QuickBooks Online company. Once you’ve done that, select Choose online company and choose the QuickBooks Online company you want to replace with your company file.
That’s it! Now all your data will be transferred over and you can start using QuickBooks Online.
Q3. How to Convert from Sage 50 to QuickBooks ?
Here’s how to convert from Sage 50 to QuickBooks:
- First, back up your Sage 50 data. This is important because it will ensure that you have a copy of your financial information in case anything goes wrong during the conversion process.
- Next, export your data from Sage 50. You can do this by going to the File menu and selecting Export.
- Choose the format that you want to export your data in, such as CSV or IIF.
- Open QuickBooks and create a new company file. When prompted, select the option to import data from sage 50.
- Follow the instructions on the screen to complete the import process.