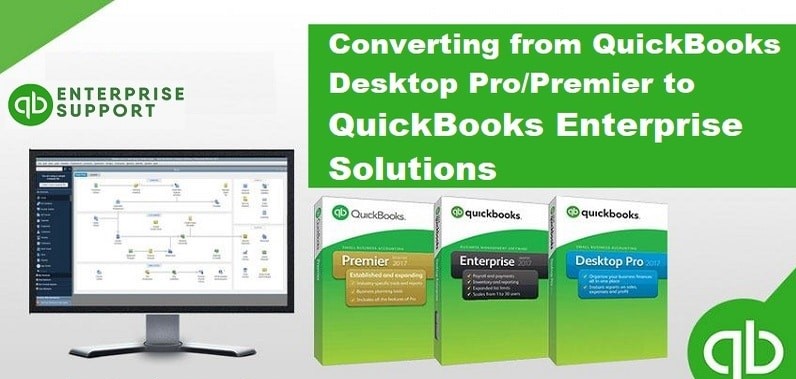
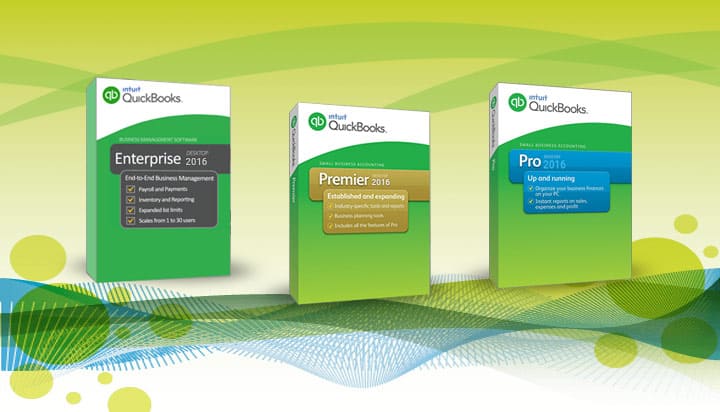
When your business grows, you need a higher version of the software that does the work without any interruption. QuickBooks Enterprise is a premium version with many features and in case you don’t need those and you usually do your basic work then you are probably wasting your money. So, this is the time when you must convert QuickBooks Enterprise to Pro or Premier.
There is no direct way to convert the enterprise edition to Pro or Premier. It takes a set of guidelines and methods to comply with. Here we’ll discuss these methods and provide you with the ultimate guide to converting QuickBooks Enterprise to Pro.
Table of Contents
What are the Differences Between QuickBooks Enterprise and Pro?
The major differences between these two most used editions of QuickBooks lie between their uses, security, features, and pricing.
- Uses: QuickBooks Pro or Premier edition can also be used by small or medium-sized businesses that don’t have that much money to spend on software. QuickBooks Pro edition gives all the features that small businesses require for accounting.
- Security: Pro version gives more security because it allows a maximum of 5 users to access data at a time whereas, the QuickBooks enterprise edition isn’t safe and secure because it allows more than 30 users to access the data.
- Features: Pro Edition has all the features that small businesses require that too at an affordable price. On the other hand, the QuickBooks enterprise has an advanced feature that is often used by only big businesses.
- Pricing: QuickBooks Pro Edition is cheaper in comparison to QuickBooks Enterprise.
What are the Benefits of Converting QuickBooks Enterprise to Pro or Premier?
We are all aware of the advanced features of QuickBooks enterprise but is it worth it at the price of the safety of data? In our opinion, data is crucial for any company and they should never keep it at risk. QuickBooks enterprise gives access to more than 30 users at a time which means that there is a very high chance to lose your data.
On the other hand, the Pro or premier edition allows accessing data to only 3 to 5 users at a time which means it is very safe and secured too. Apart from the data security, it is available at a lesser price in comparison to QuickBooks Enterprise.
It only makes sense to avoid wasting so much money on the enterprise edition, when your work can be done with the pro or premier edition.
Also Read: QuickBooks user must know how to download QuickBooks Enterprises 2019
Steps to Convert QuickBooks Enterprise to QuickBooks Pro
There are a number of steps that you have to follow to carry out the conversion process. Let’s have a look at them one by one.
Step 1: Importing the Enterprise Files to QuickBooks
Follow the steps to importing the company files from QuickBooks Enterprise to QuickBooks desktop.
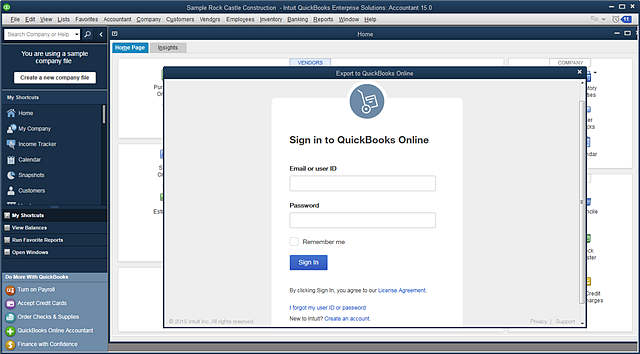
- To do this, first of all, you have to log in to your QuickBooks application.
- Then, create a backup of the files and then save it on your local hard drive.
- Restore the backup and then make a copy. You can use the copy to perform your work.
- Now, on the home screen, you have to launch the enterprise version.
- Simultaneously press Ctrl+1 to open the product information window.
- Next, press the ctrl+b and ctrl+q keys.
- Hit Ok.
- On the very next screen, you will have to fill in your Quickbooks login information.
- Check the terms and services checkbox.
- Click on the submit button.
- Tally the list and follow the instructions that pop up on your screen.
Step 2: Exporting the Data from QuickBooks to Pro
Here are the steps for converting the data from QuickBooks to Pro
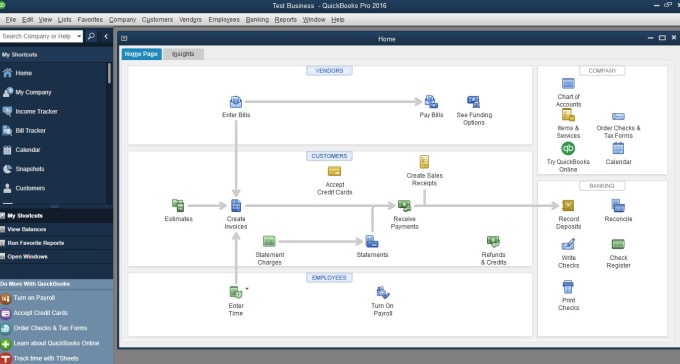
- As soon as the file has been imported to QuickBooks, for further export you can use IE.
- You will have to follow the onscreen prompts to install the controls.
- To convert the entire file, you will have to choose the option named All Financial Data.
- Next, click on All Financial Data Without Transactions.
Step 3: Converting the File
Following are the steps to convert the file.
- Firstly, you have to open QBDT on the screen.
- Choose the company file that you desire to convert.
- Hit the Convert button.
- Follow the on-screen prompts accordingly.
Step 4: Things to do After the Conversion
Here are some steps that you must follow after the conversion.
- At first, you have to open the Internet Explorer.
- Then, press the keys Alt+T.
- After that, click on the Tools menu.
- Next, navigate to Internet Options.
- Now, select the tab named security.
- Thereafter, you have to select reset all zones to the default level.
- Further, click on Apply and hit Ok.
- Lastly, close the Internet Explorer window.
Check out: Easy steps to convert Peachtree to Quickbooks
Wrapping Up!
This is the safest and easiest way of converting QuickBooks enterprise to pro or premier. Hopefully, you have successfully finished this task of conversion using our steps. As these dynamic articles helped you out, other articles on our website are of the same nature. You can make full use of these to tackle the obstacles standing between you and success.